Make your own 5 ingredient flour tortillas and ditch the store bought ones that are filled with a long list of junk! There’s nothing like having a homemade flour tortilla for taco Tuesday or as a hummus dipper for your charcuterie board. They are so simple and easy to make. Once you try them, you won’t ever buy tortillas again.
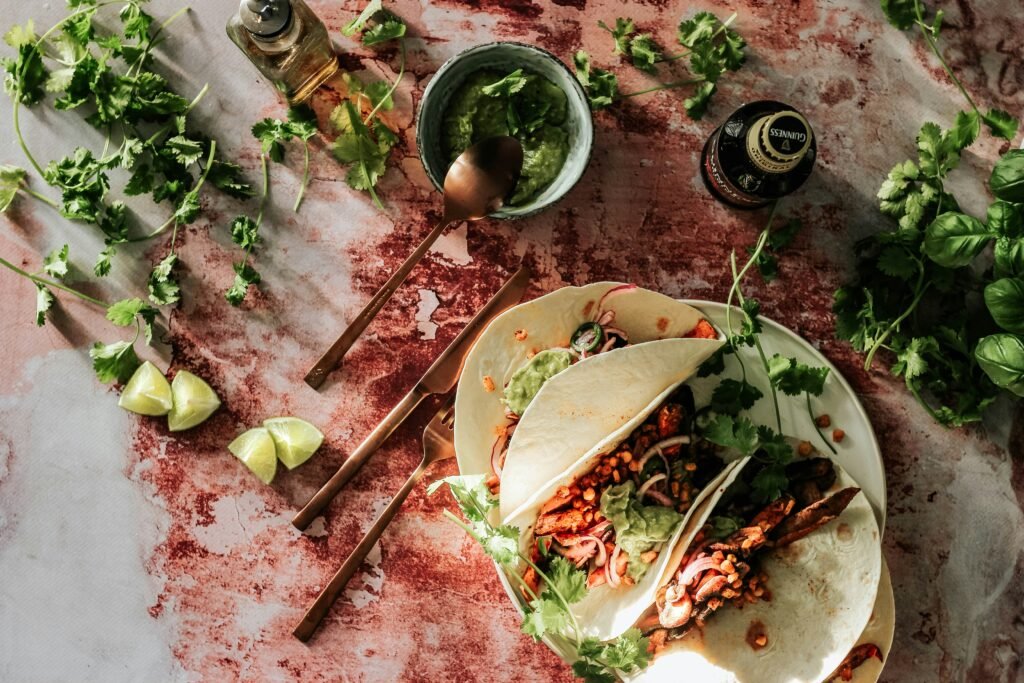
I promise you that making homemade flour tortillas are far superior in taste and freshness! These preservative free tortillas are a simple and easy way to help promote healthier food choices. They are free of all the inflammatory oils like soybean and canola that are in store bought ones. These homemade flour tortillas are free of nonsense with just 5 simple ingredients you probably already have at home.
* Disclaimer – This blog contains affiliate links. As an Amazon Associate, I earn commission from qualifying purchases *
The process of making homemade tortillas fosters a deeper connection to your food and the process of cooking. It encourages mindfulness and appreciation for homemade meals made with wholesome ingredients.
Ingredients
- 3 cups of all-purpose unbleached flour – I like King Arthur
- 1 teaspoon of sea salt
- 1 teaspoon of baking powder
- 1/3 cup of extra virgin olive oil
- 1 cup of warm water
Supplies
I like to gather all my supplies and measure all the ingredients before I start anything. This recipe comes together fast.
Instructions
- Warm 1 cup of water to about 100 degrees. For me, I use room temperature water and heat in a glass measuring cup in the microwave for about 45 seconds.
- Measure 1/3 cup of extra virgin olive oil.
- With a wooden spoon, mix together the dry ingredients in a medium size bowl – 3 cups of all-purpose unbleached flour, 1 teaspoon of sea salt, and 1 teaspoon of baking powder.
- Make a well in the center of the dry ingredients and pour in the water and oil.
- Use a sturdy mixing spoon to start mixing from the bottom up, until a shaggy ball forms.
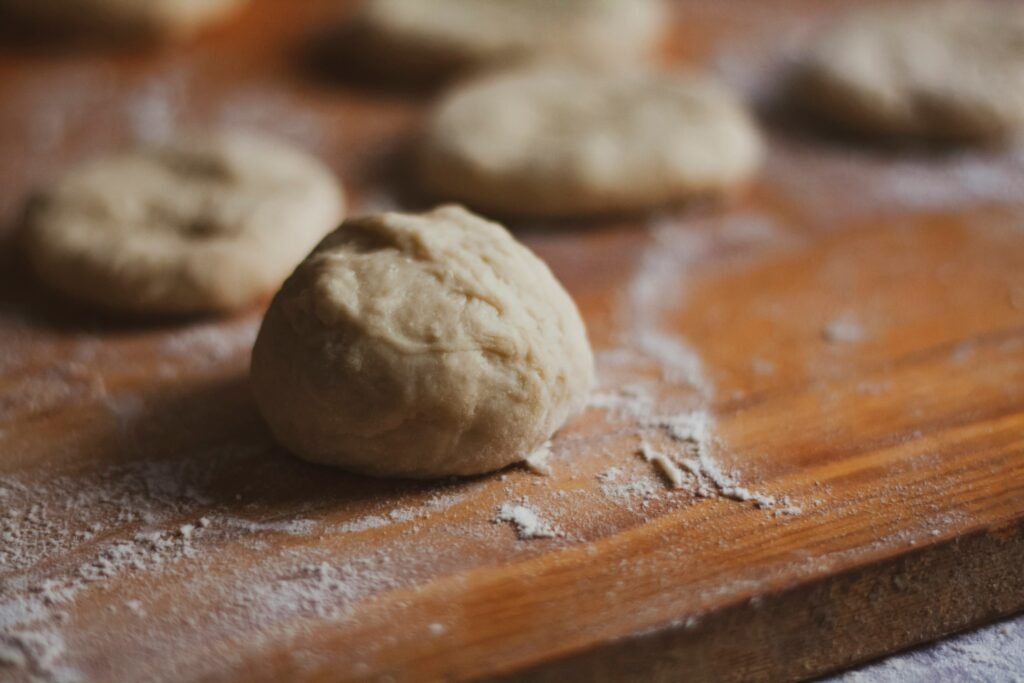
- Transfer the dough to a lightly floured work surface and need for about 2 minutes, or until it is nice and smooth.
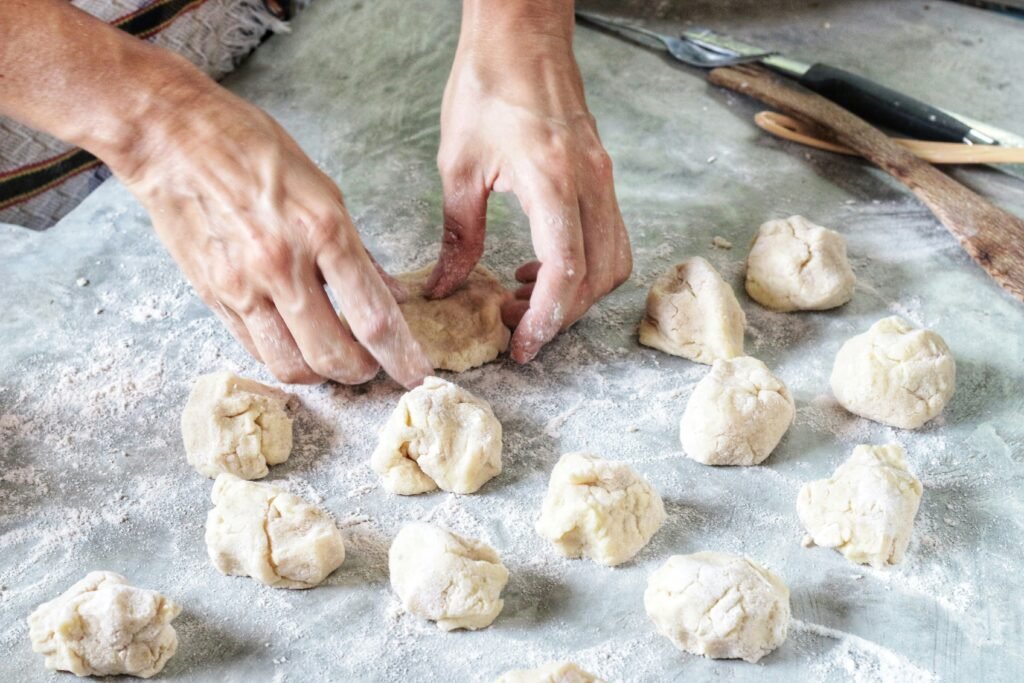
- Use a dough cutter to divide the dough into 8 equal portions and roll them into balls.
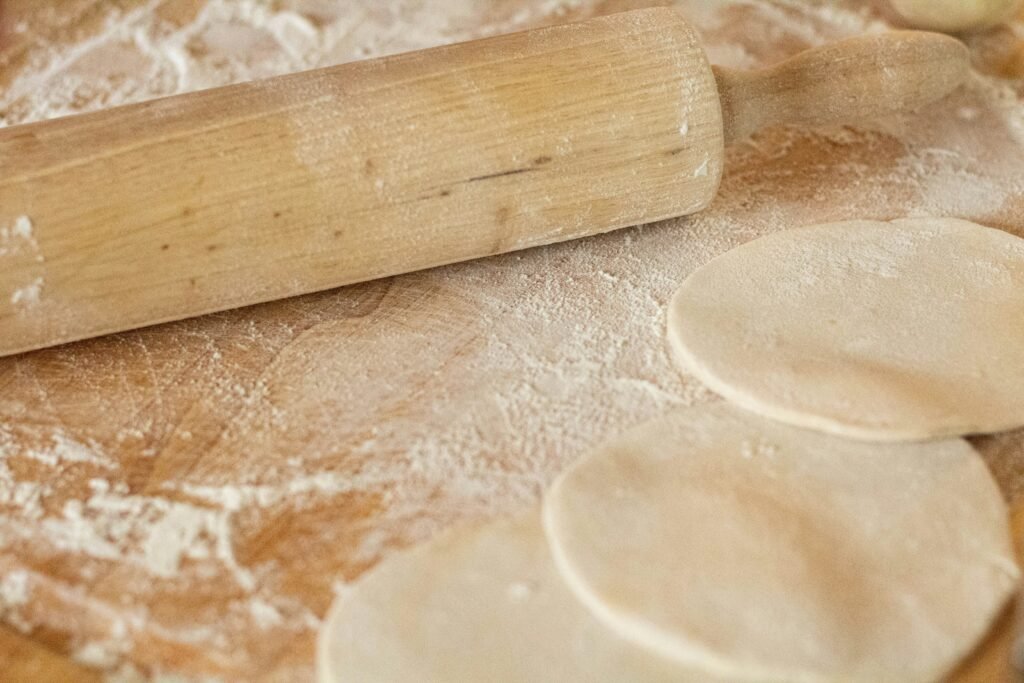
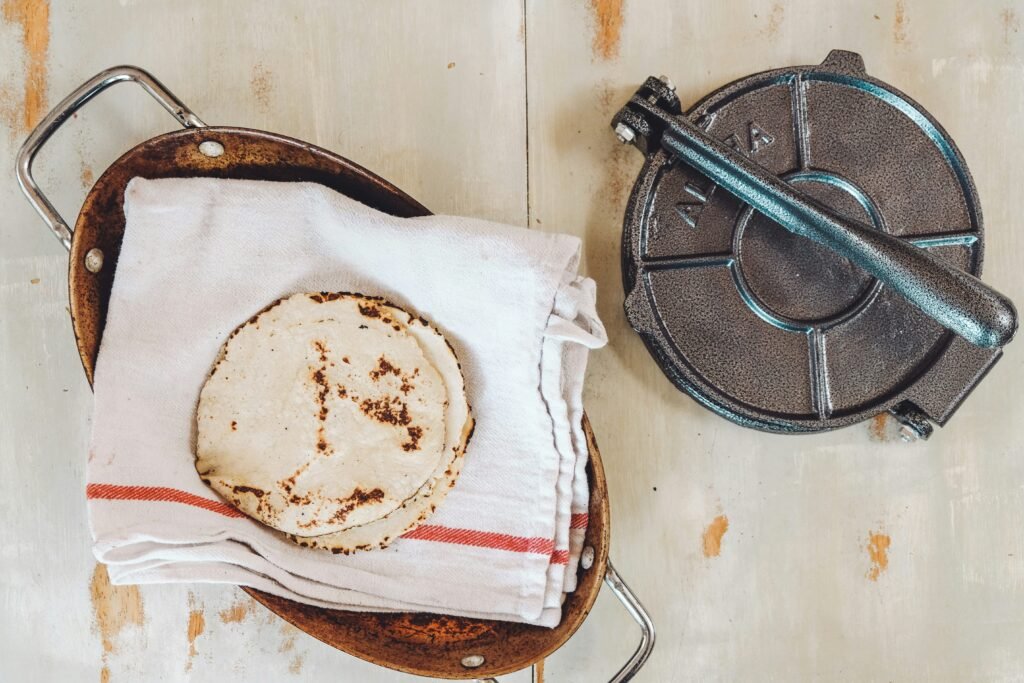
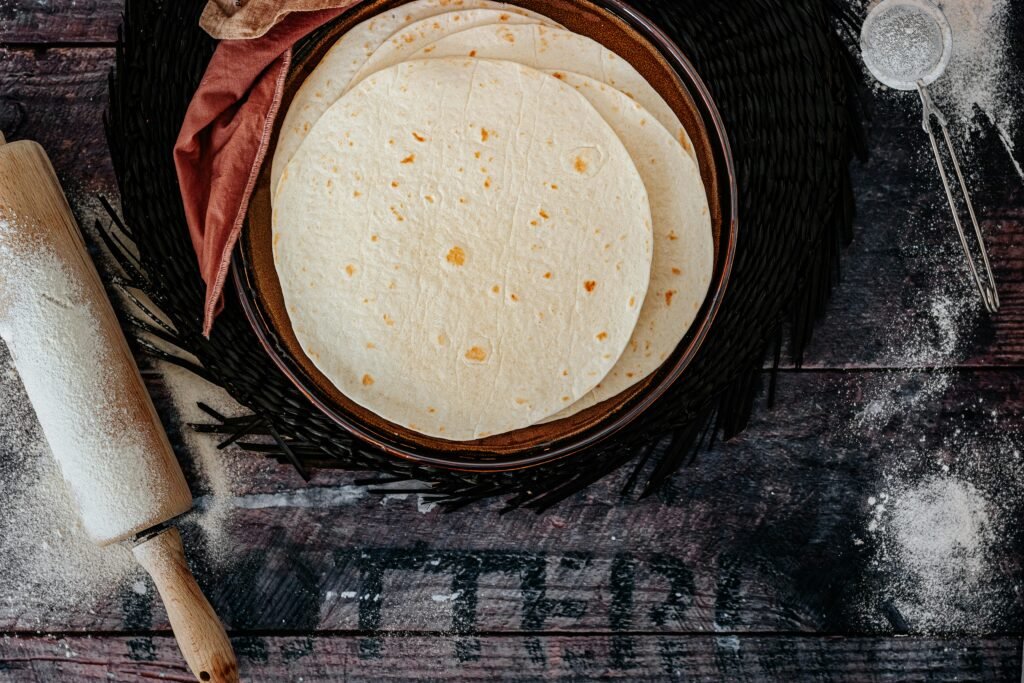
- Flatten the balls with your fingers, then use a rolling pin to form them into a large, thin circle. You will want to change the direction you roll it in and get it to a slightly translucent thickness. My shapes always turn out a bit rustic. Optional, but very helpful, use a tortilla press.
Rest Period
Lay each fattened tortilla on a large cutting board to rest for 15 minutes up to 2 hours. Make sure not to layer them, otherwise they will stick together. If you run out of room, use parchment paper in between the layers. Lay a clean, thin kitchen towel on top of them as they rest.
Use this time to prep your other ingredients for your fully home cooked meal.
Cooking
- Grab your serving platter or basket and place a thin damp towel on it. This will keep the tortillas warm and soft. Sometimes I’ll use two towels layered for extra insulation.
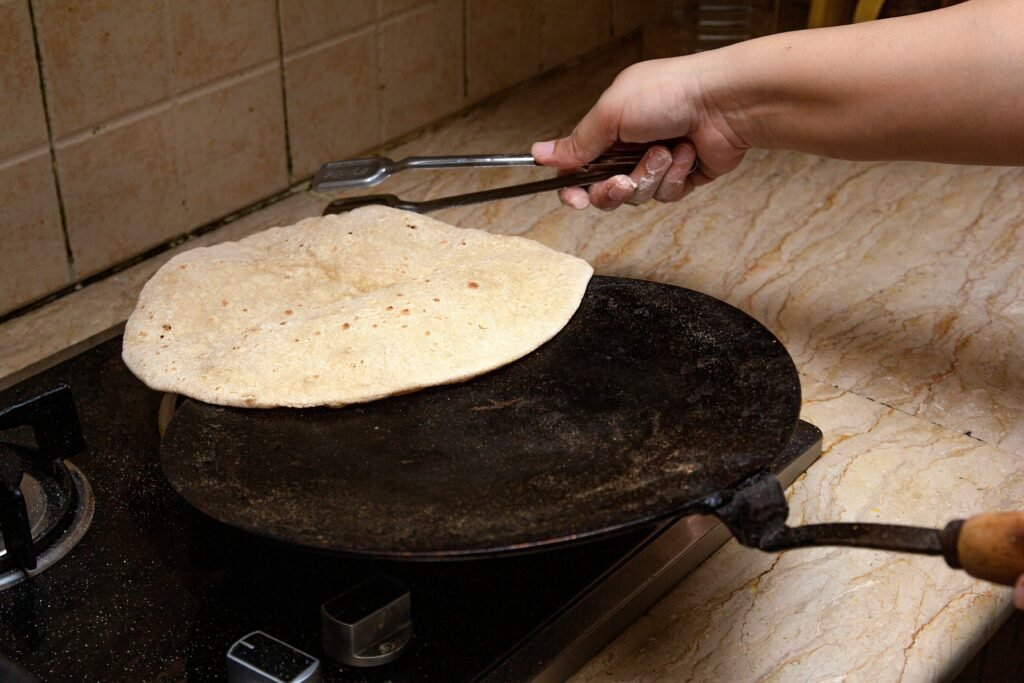
- Heat your cast iron skillet on medium high heat (stove tops may vary). Place the tortillas one at a time and cook for about 45 seconds to one minute per side, or until they are golden and browned. Flip with a silicone spatula so you don’t scratch your pan.
- Place the tortillas on the damp towel and cover until you’re ready to serve!
Storage
On the off chance you have any leftovers, or you make a double batch, simply store them in an airtight bag for up to 6 days in the fridge, or in the freezer for up to 6 months.
